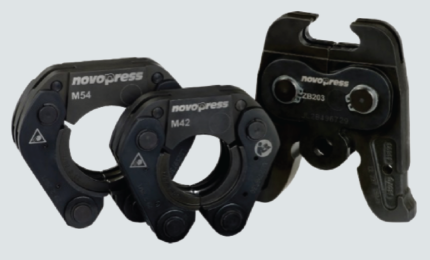
Consistent, leak-free performance depends on proper crimping technique and regular maintenance of your crimping tool, jaws, and collars. When these procedures are followed, every joint can be guaranteed 100% leak-free.
Below is the recommended procedure for preparing, assembling, crimping, and maintaining your CrimpLink stainless steel piping system.
Standard Procedures for Producing Perfect Crimped Joints
1. Prepare the Pipe Correctly
-
Ensure every pipe cut is fully deburred internally and externally.
-
Confirm all O-rings are correctly seated in the fitting.
-
Insert the pipe fully into the fitting, then mark the pipe at the lip of the fitting to confirm correct depth.
Important:
If a fitting is tight, do not use oil—it can damage the O-ring over time.
Lubricate only with soapy water if needed.
2. Assemble and Align Fittings
-
Complete sub-assemblies and lightly clamp components in place.
-
Before crimping, verify that pipe and fitting have not separated from the marked insertion line.
3. Perform the Crimp
-
Position the crimp jaws or collars squarely on the flared section of the fitting.
-
Complete the crimp using the appropriate hydraulic or mechanical tool.
-
After each stage of work, conduct a visual inspection to ensure all joints have been crimped fully.
Daily and Periodic Maintenance for Crimping Tools and Jaws
Proper maintenance extends tool life and ensures consistent deformation of each fitting.
Daily Maintenance
After Approximately 500 Crimps
After 2,000 Crimps or 1 Year of Use
Improperly deformed fittings can lead to leaks, so scheduled calibration is essential.
Guaranteed Leak-Free Results
By following these procedures and maintaining your crimping equipment regularly, you can achieve 100% leak-free joints and complete every project with confidence and peace of mind.
Important Final Reminder
Pressing tools must be serviced on a regular schedule to ensure long-term reliability and consistent, leak-free performance.